anchor를 각 각 설정하면 코드가 길어지기 때문에 아래처럼
extension을 이용해서 미리 선언을 해준다.
extension UIView {
    func anchor(top: NSLayoutYAxisAnchor? = nil,
                left: NSLayoutXAxisAnchor? = nil,
                bottom: NSLayoutYAxisAnchor? = nil,
                right: NSLayoutXAxisAnchor? = nil,
                paddingTop: CGFloat = 0,
                paddingLeft: CGFloat = 0,
                paddingBottom: CGFloat = 0,
                paddingRight: CGFloat = 0,
                width: CGFloat? = nil,
                height: CGFloat? = nil) {

        translatesAutoresizingMaskIntoConstraints = false

        if let top = top {
            topAnchor.constraint(equalTo: top, constant: paddingTop).isActive = true
        }

        if let left = left {
            leftAnchor.constraint(equalTo: left, constant: paddingLeft).isActive = true
        }

        if let bottom = bottom {
            bottomAnchor.constraint(equalTo: bottom, constant: -paddingBottom).isActive = true
        }

        if let right = right {
            rightAnchor.constraint(equalTo: right, constant: -paddingRight).isActive = true
        }

        if let width = width {
            widthAnchor.constraint(equalToConstant: width).isActive = true
        }

        if let height = height {
            heightAnchor.constraint(equalToConstant: height).isActive = true
        }
    }
    ..........
    .......
    ........
class FeedCell: UICollectionViewCell.......
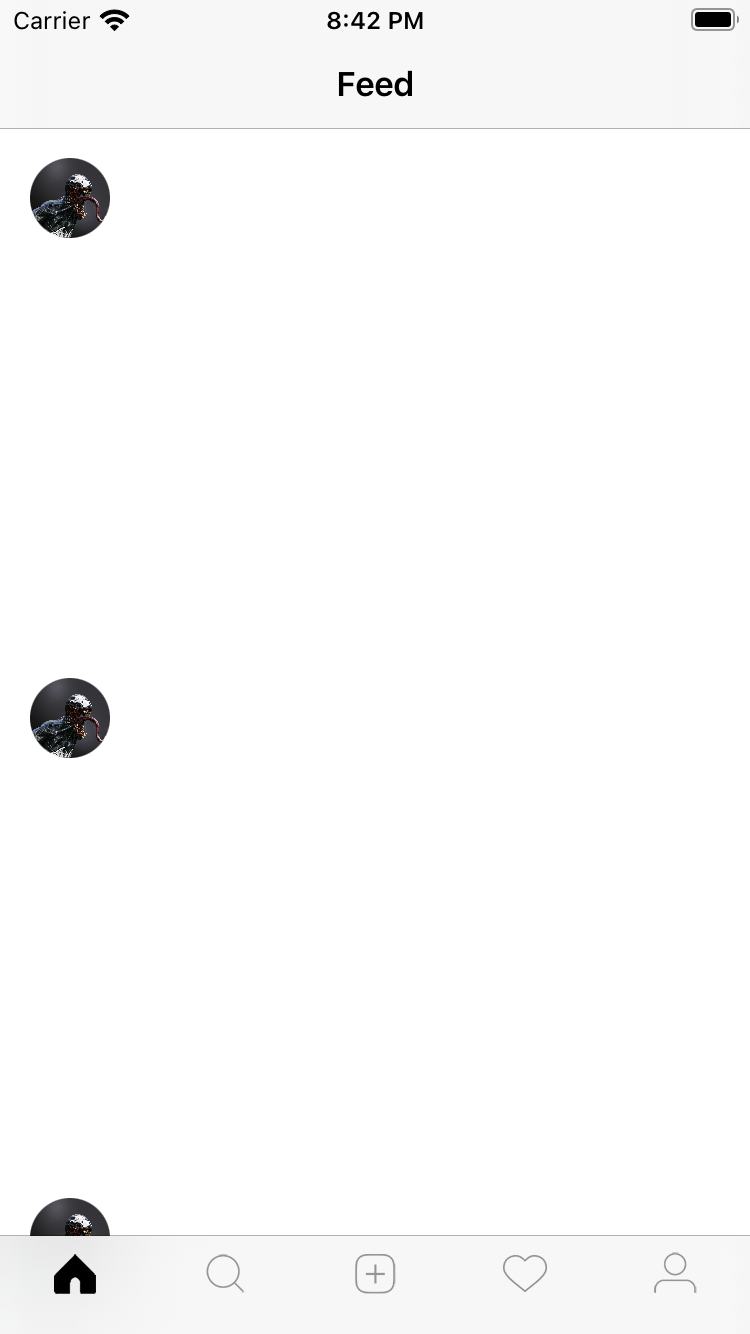
private let profileImageView: UIImageView = {
let iv = UIImageView()
iv.image = imageLiteral(resourceName: "venom-7")
iv.setDimensions(height: 40, width: 40)
iv.layer.cornerRadius = 40/2
iv.clipsToBounds = true
iv.isUserInteractionEnabled = true
return iv
}()
//MARK: - Lifecycle
override init(frame: CGRect){
super.init(frame: frame)
addSubview(profileImageView)
profileImageView.anchor(top:topAnchor,left: leftAnchor,paddingTop: 15,paddingLeft: 15)
}
클로저를 이용 profileImageView을 선언과 동시에 imageview에 대한 설정을 해주고 addSubview를 이용 profileImageView을 그려준다. 그리고 anchor를 사용해서 top , left의 anchor를 설정해주고 padding까지 설정해준다.
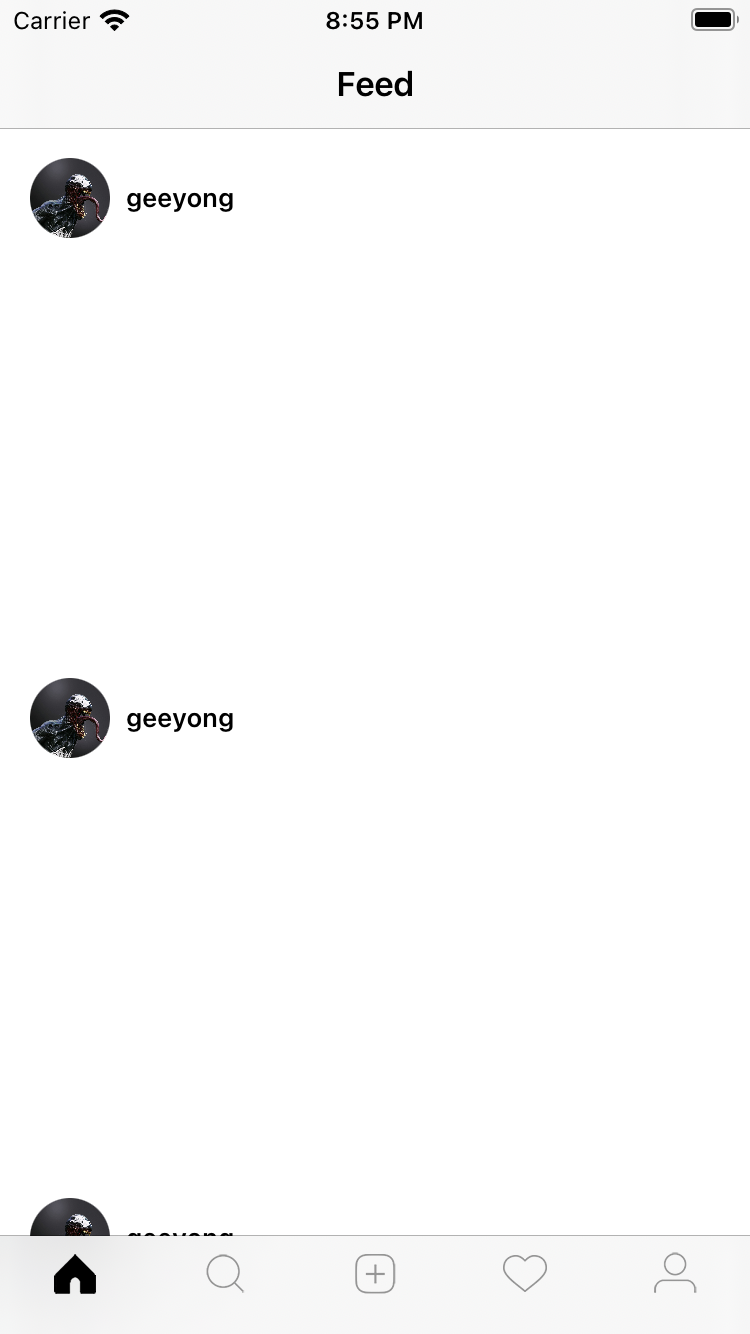
private lazy var nameButton: UIButton = {
let bt = UIButton()
bt.setTitle("geeyong", for: .normal)
bt.setTitleColor(.black, for: .normal)
bt.titleLabel?.font = UIFont.boldSystemFont(ofSize: 13)
bt.addTarget(self, action: #selector(didTapNameButton), for: .touchUpInside)
return bt
}()
버튼을 추가 버튼이름과 폰트, 컬러 그리고 타겟을 설정해줬다.
addSubview(nameButton) 를 통해 적용 그리고
nameButton.centerY(inView: profileImageView, leftAnchor: profileImageView.rightAnchor, paddingLeft: 8)
centerY를 통해 leftAnchor를 설정해줬다 .
func centerY(inView view: UIView, leftAnchor: NSLayoutXAxisAnchor? = nil,
paddingLeft: CGFloat = 0, constant: CGFloat = 0) {
translatesAutoresizingMaskIntoConstraints = false
centerYAnchor.constraint(equalTo: view.centerYAnchor, constant: constant).isActive = true
if let left = leftAnchor {
anchor(left: left, paddingLeft: paddingLeft)
}
}
추가로 profileImageView에서 cornerRadius을 설정해주면서 clipsToBounds가 정확히 어떠한 일을 하는지 궁금해서 검색을 해봤다. 역시 제드님의 정리가 있었다. zeddios.tistory.com/37